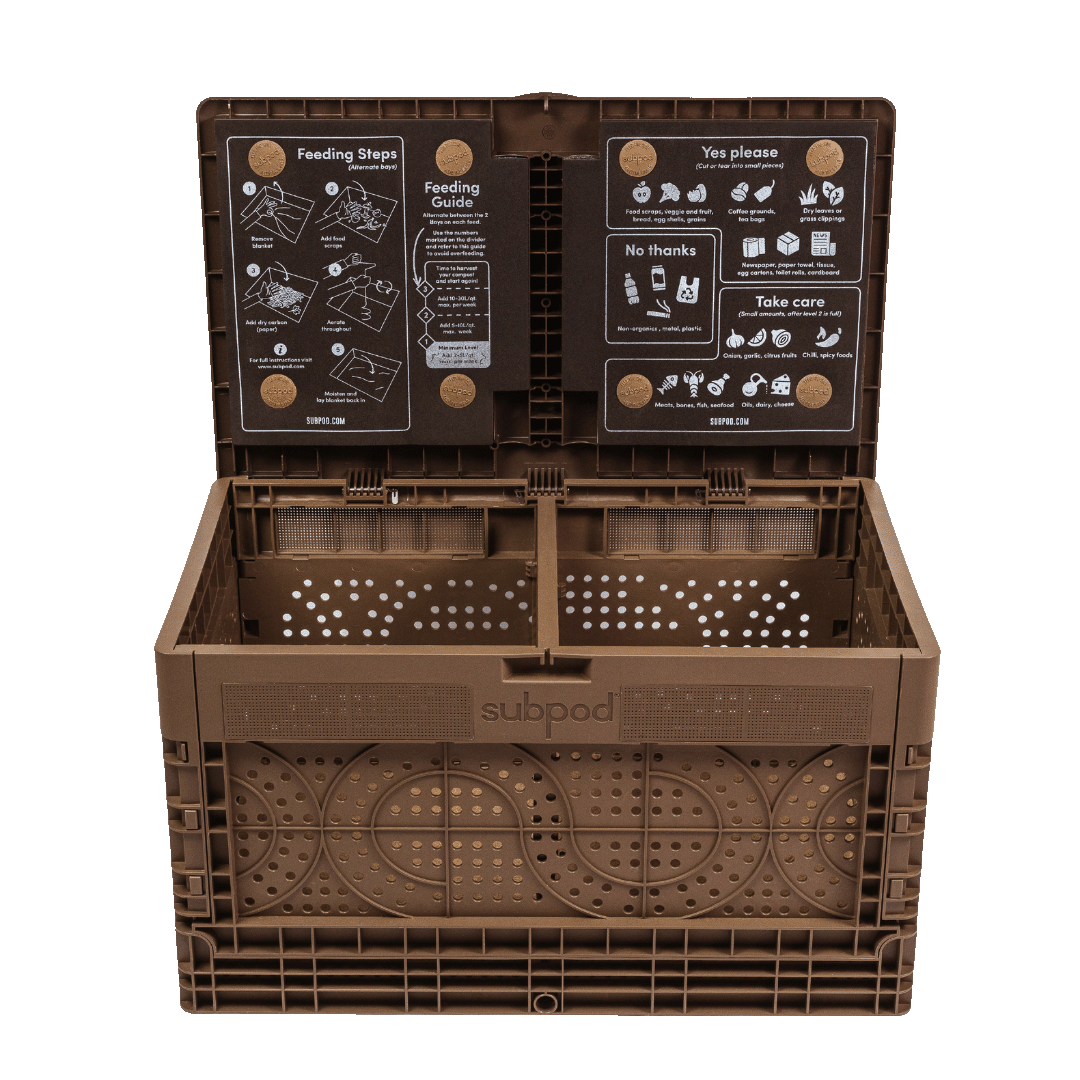
Composting during winter – it's a hot topic. Here are three proven methods that will help keep your worms cosy next winter!
What happens to compost worms in winter
Worms are happy to keep composting until temperatures start reaching around 55°F (12°C). Once the needle dips below that, your worms will be feeling a little tired, and things can quickly go downhill from there.
The Worst-Case Scenario
- The temperature dips below 40°F (5°C) and your worms start to slow down.
- Left uncared for, your system slowly dries out as temperatures dip.
- Your worms go into stasis – kind of like hibernating.
- Eventually, your Subpod turns into a sad little worm graveyard.
Obviously, we don't want that to happen! Lucky for you, our creative compost community in the States has come up with three unique methods to keep your Subpod happy through the cold. Here's how to keep your worms alive in winter, and keep on composting while you're at it.
The Minimal Approach
Increase temperature 40 – 50°F (5 – 10°C), worms will stay alive, but only compost minimal amounts over winter.
This method is cheap as leaves, and all about keeping things cosy inside your Subpod. One of our composters managed to maintain a 40 – 43°F average inside their system in the middle of a 20°F (-7°C) winter using just this simple technique!
Here's what you'll need:
- A trusty supply of dry leaves saved from Autumn (or other carbon materials like coconut coir)
- Coffee grounds, either from your kitchen or rescued from a local cafe
- A thermometer for checking the temperature of your 'Pod (optional)
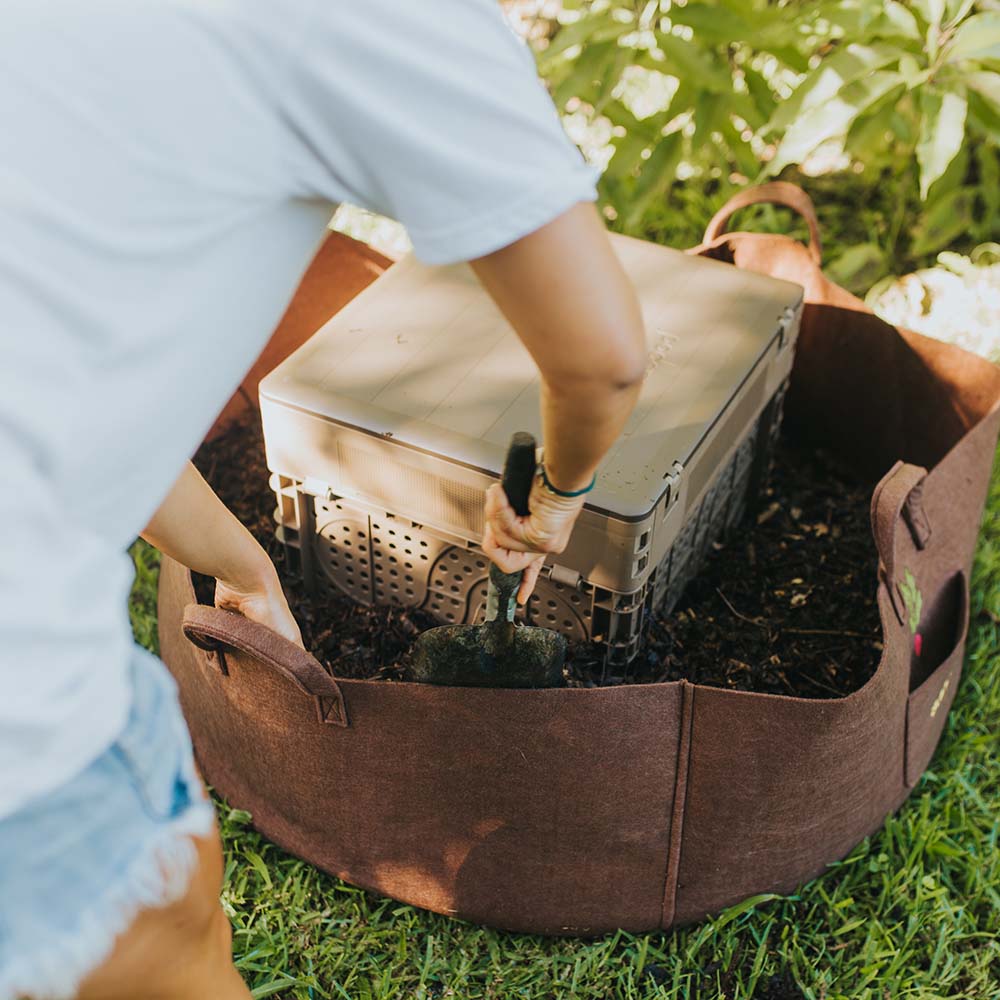
Once the weather starts to turn, start adding extra carbon materials like dry leaves and coconut coir to your Subpod. It will act like insulation in the system, creating a buffer from the cold soil and trapping in the heat.
As temperatures drop, slowly feed your Subpod less and less, adding a few handfuls of coffee grounds at each mealtime. The nitrogen in the coffee will help keep things heated up!
You'll want to keep an eye on the compost inside your system. If you find lots of uneaten food, it's a good idea to wait another week or so before you feed your system again. Even if your worms are warm, they may still be sluggish and less hungry during the colder months!
The Hands-Off Option
Increase temperature 50 – 60°F (10 – 15°C), worms will be more active, able to compost a medium amount through winter.
Got a little cash and prefer a less hands-on option? Cold frames cheap and simple to use – but they're still more expensive than just dry leaves!
What you'll need:
- A cold frame that fits over your Subpod (ideally over your whole garden bed)
- A thermometer for checking internal temperatures (optional)
- Insulation like dry leaves (optional)
Cold frames are essentially portable greenhouses that you can pop over a garden bed to continue growing food during winter. They raise the temperature inside by trapping heat and moisture created by direct sunlight.
To keep your Subpod warm, place the cold frame over your garden and voila! Your worms will be much more comfortable this winter. If you want your Subpod to be composting a little more productively, you can also add extra insulation with every feed (and maybe a little coffee grounds) just to give your worms that extra kick.
But for someone who wants to compost all year round, our next method is the way to go.
The Ultimate Winter Solution
Increase temperatures by 40°F (10°C) and up, this method allows you to compost at full capacity all through winter! Your worms won't even know it's cold out.
This ingenious method was crafted up by one of our composters in the US – Tony Kent from Seattle, Washington. It's a little more elaborate, but if you want compost all year round, it definitely pays off.
What you'll need:
- Good quality heated seedling mats
- Clamshell cord covers (or a ziplock bag)
- Duct tape
- Thermostat and power splitter
- Power splitter (optional, but you'll need an extra thermostat)
Want to see instructions from the inventor?
- Step 1. Place your heat mats inside your Subpod on top of the worm blankets. Seedling mats can be very cheap, but since you'll be using yours outdoors, you might want to go for more a well-known brand.
- Step 2. Feed your mats' power cords out of the Subpod through a gap. You can also drill a hole for the power cords, but this may open up the Subpod to insects.
- Step 3. Sink the temperature gauge of your thermostat into the middle of one compost bay in your Subpod.
- Step 4. Connect your heat mats and thermostat to the power splitter. It's important to monitor the temperature of your Subpod more closely with this method, just to be safe.
- Step 5. Cover any exposed plugs and the thermostat with some cord covers – like these (for example). If you're on a tight budget, you can just use duct-taped ziplock bags, but please be careful. You want to make sure to keep everything as dry as possible!
-
Step 6. Just set your heating pads to the right temperature and warm those worms up!
We also recommend adding some extra insulation materials to your Subpod with this method, especially if things start to get a little moist from the heat.
If you use any of these methods, your worms should thrive through their next winter. But even if tragedy strikes, and your Subpod freezes solid, there will be hundreds of compost worm eggs laying dormant in the soil – ready to spring to life when the warm weather returns.
If you've got any questions about composting during the winter, contact us at hello@subpod.com, and we'll be happy to help.
Want a winter-proof composter?
Check out our easy to use systems!


Leave a comment
This site is protected by hCaptcha and the hCaptcha Privacy Policy and Terms of Service apply.